Showing posts with label Highboy Dresser. Show all posts
Monday, April 30, 2018
Back End
Here's the front end, waiting for the back end.
Glue-up time.
Big Will came out for the flushing and fitting.
Back-panels are a bit like underpants, you just never know...bit of a chore to make, but they need to look half decent. Here's one of a couple dry fits, in between some fine tuning up of the panel sizes and rabets.
Glue-up time.
Big Will came out for the flushing and fitting.
I didn't get carried away on a perfect fit, but the back-panel does offer some racking strength, so I aimed for a reasonable fit. Made up some aluminum swivel clips and a couple leather tabs to make the panel easy to take in and out, just in case.
Tuesday, April 10, 2018
Front End Continued
Drawer pulls are an exercise in patience. When all I wanted to do was mount those false fronts. But some fun was had in la-la land.
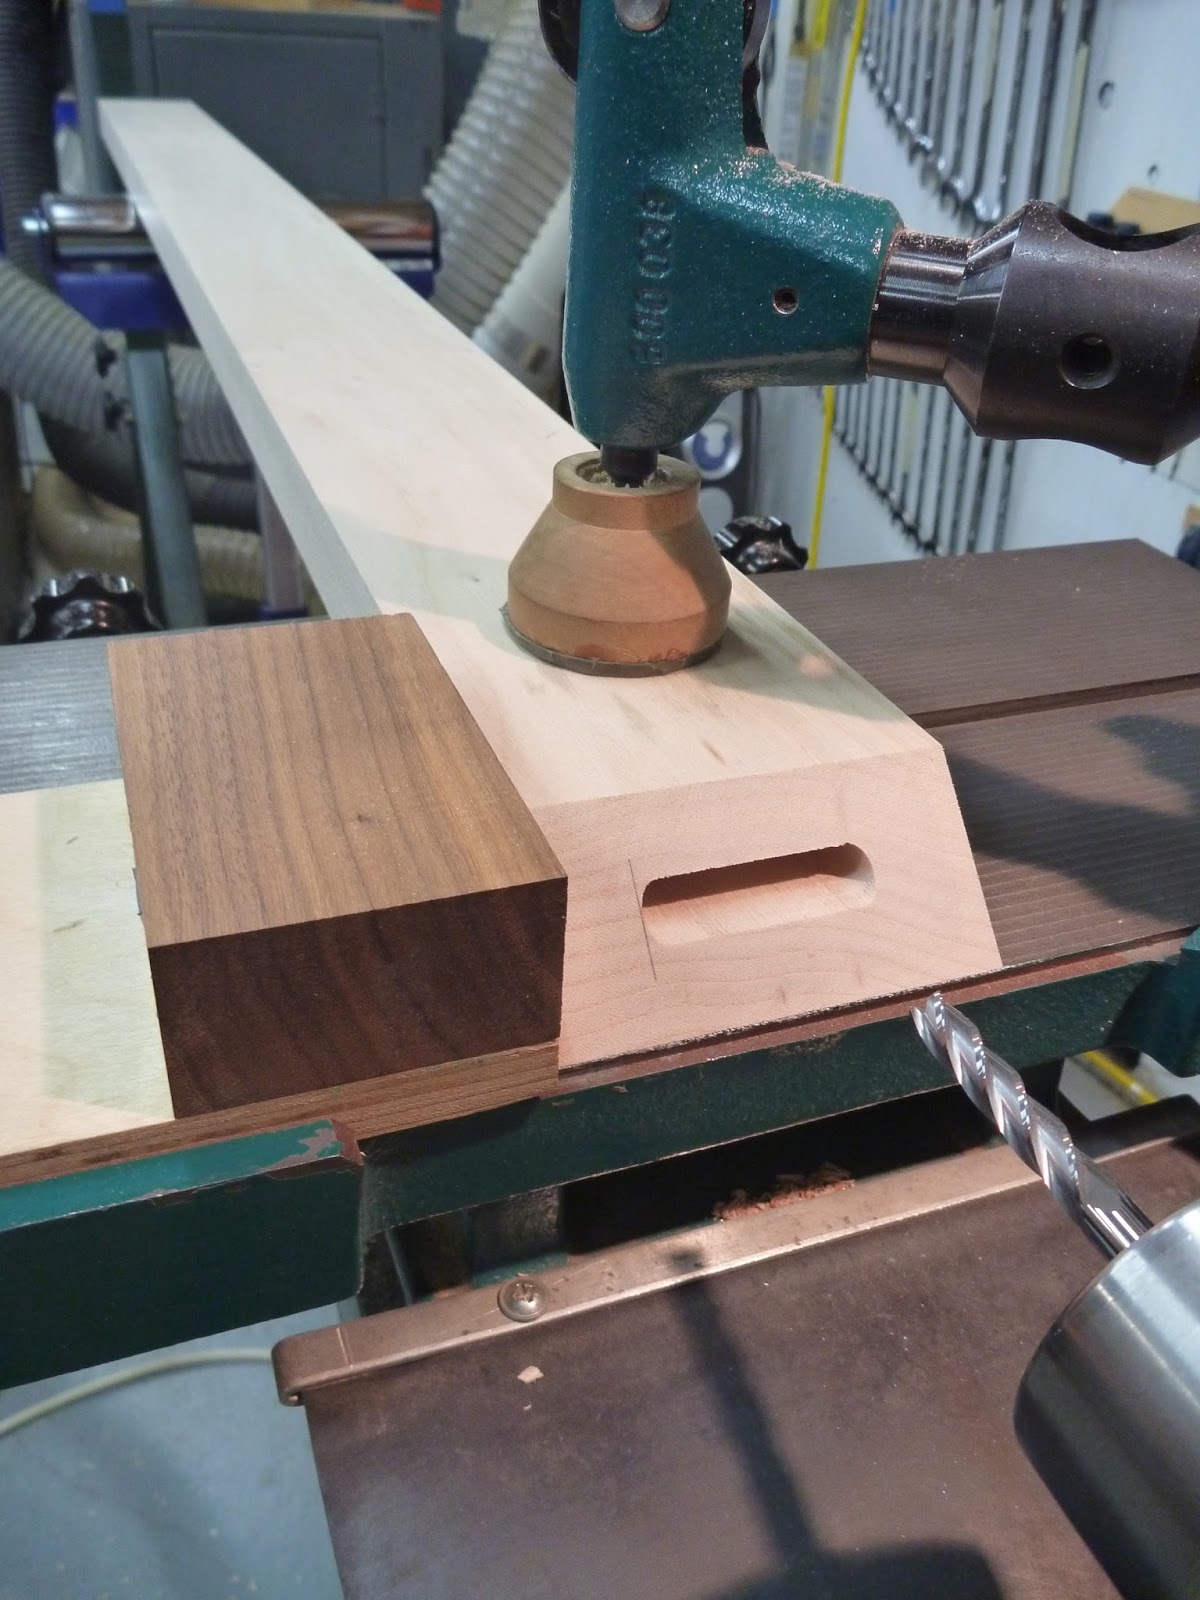
Hold it right there. my setup to keep tiny things still on the horizontal mortiser.
Shooting tiny tapers.
Glueing posts into tiny dadoes cut in the bars before pinning with 1/8 aluminum rod.
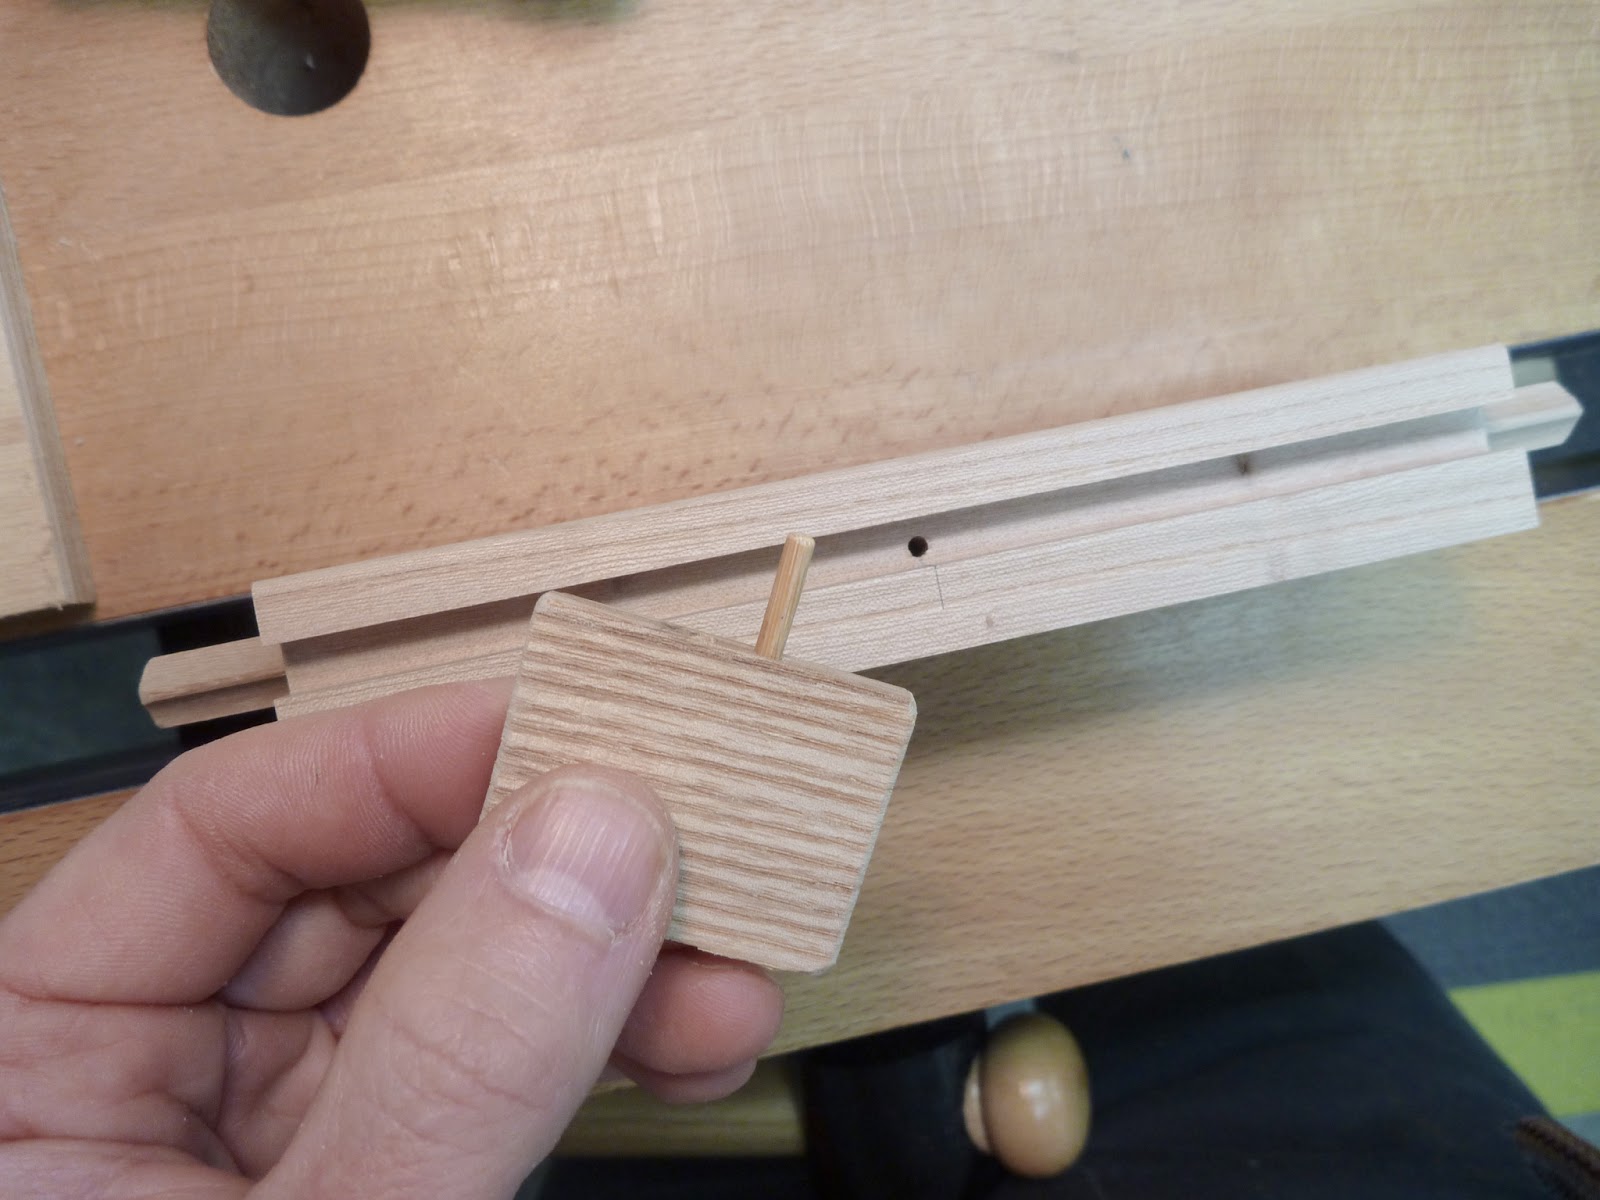
Not an option to drill a false front in the wrong place. Couldn't cut more Elm parts if I wanted to. There's nothing left. So I made a template/dowel jig for each drawer to drill the mortises for the pulls.
Rebel without a cause. He's sitting there waiting for his feet, and back panel and an ungodly amount of finishing. But the false fronts seem to finally be in place. I used shims for the reveals (made them a hair over 3/32) and double stick tape on the drawer box front to place the fronts. Then screwed them in place and used the Blum slider tilt and height adjustment to fine tune. Good thinking having these adjustments, unfortunately the height adjustments are all made of thin plastic, so most of them snapped off.
Hold it right there. my setup to keep tiny things still on the horizontal mortiser.
Shooting tiny tapers.
Glueing posts into tiny dadoes cut in the bars before pinning with 1/8 aluminum rod.
Monday, March 26, 2018
Front End
Slider instal. Double stick tape with a 'little buddy' spacer, and a guitar capo/clamp worked nicely. Blum Tandem Blu-motion sliders.
Slapped on a drawer front so that I could ponder what the drawer pull will look like. A rough suggestion with the invaluable double stick tape.
Boxes
Box joints must be one of the easiest ways to make a box. right? Never done them before, so why not give it a bash.
Exhibit B - not so much blow out after refining the process.
Even with a zero clearance fence, it's takes time to avoid the blow out. clamp the workpiece, finger pressure is not enough. zero clearance fence, obviously. Making smaller, multiple passes helps. As does scribing the cut with a marking gauge, as you would for dovetails.
Here's my jig on the sliding table. The hardboard layer gets added once the location of the jig is fine tuned. I clamped that chunk of wood onto the slider in case I dropped a drawer side onto the blade. Having it go over the blade and across the other side would be A+, but this gave me enough comfort.
Drawer bottoms getting made up. Some re-sawn western maple to avoid plywood.
Easy, yes pretty foolproof once you've dialed the setup (I used a dado blade method). quick? maybe not so much. Exhibit A - blow out at the back of the cut.
Exhibit B - not so much blow out after refining the process.
Here's my jig on the sliding table. The hardboard layer gets added once the location of the jig is fine tuned. I clamped that chunk of wood onto the slider in case I dropped a drawer side onto the blade. Having it go over the blade and across the other side would be A+, but this gave me enough comfort.
Drawer bottoms getting made up. Some re-sawn western maple to avoid plywood.
Drawer parts stacking up, but luckily there's a nice rack to store them on.
Saturday, February 24, 2018
Monday, February 5, 2018
Just Add Glue
Slowly each surface is dressed and checked and the parts start lining up ready for pre-finish.
Another calm glue-up with eco-poxy. It's wonderful how the joints don't grab and come together in a well lubricated fashion. One of three sub-assemblies for the main carcass:
Pin It
Pinning panels on centre stops them migrating all over the place as the years pass. First I grab some bamboo skewers from the kitchen and resize them to a 7/64 drill bit.
Notch the panel, did a few by hand then took a pile over to the table saw which also works.
I came up with this 'little buddy' that helps seat the dowel to the correct depth and avoids splitting the dowel when hammering it in with glue.
Notch the panel, did a few by hand then took a pile over to the table saw which also works.
Friday, January 12, 2018
Panel Preparation
Another Elm slab threw itself in front of the bandsaw. Sliced up into panels for the highboy dresser.
The rabbets were roughed out a hair oversize on the router table, then came to the bench for clean up.
Once the two edges were fitted, it was just a matter of flushing the end grain.
Also time to dress the frame surfaces.
The rabbets were roughed out a hair oversize on the router table, then came to the bench for clean up.
Once the two edges were fitted, it was just a matter of flushing the end grain.
Also time to dress the frame surfaces.
Monday, December 11, 2017
Joinery
Mortises for the L tenons:
Mortises for the mitered rails:
A quick dry fit of the miter'd rails into the miter'd frame:
Surface prep before cutting sliding dovetails:
Cutting a series of stopped sliding dovetails for these ribs that run across the cabinet. One of my usual plywood offcut, double stick tape, router template guide type jig:
Subscribe to:
Posts (Atom)