Tuesday, December 24, 2013

A diamond in the rough?


Here's an oldish Rockwell Unisaw that I picked up to replace my dead hybrid saw. He's got a couple things going for him; good blood-line, a lot of cast iron, reasonably  flat top, good arbour, good motor/switch. and some very sexy louvres. Not sure what happens next, but I'm sensing a paradigm shift. Perhaps a sliding table modification for a dedicated full capacity cross cutting machine with pinpoint accuracy...


Seems to be making perfect test cuts. Might be a sweet little rig until a true European slider miraculously lands in the shop one day. Of course a few days were spent going through him and doing a full tune-up. A few more days will be spent building in dust collection.


Don't forget to check the miter slot for parallelism at both 90 and 45, if they're not both parallel then the table needs shimming level. There's only one problem I could find with the saw: the flange on the arbour nut side was in very poor shape,perhaps not original, and not mating with the arbour flange on the inside, and distorting the blade. I lapped the nut flange which helped, then added a makeshift ply blade stiffener. Fortunately there's lots of old unisaw parts on ebay, and I bought a handwheel for the blade angle that was missing.

Thursday, December 5, 2013

Moving On


The time has come to take down the shop drawings for the kitchen hutch project. and re-load.


Dreaming


Finally got round to copying these patterns & drawings that have been sitting under my bench for a long time. A Finn Juhl, armchair #45 I believe. I'd like to take a run at it sometime. In the meantime the drawings can make themselves comfortable in the bunkhaus kitchen to feed the inspiration.

Meanwhile the apres project shop tune-up continues


Perhaps the ghastliest chore, worse than resetting jointer knives, is the replacing or cleaning of the dust filters. Here's my system for filtering the cyclone exhaust (the exhaust enters the top of the box, and there's two exit ports underneath the filters). I took these filters outside and sprayed them down with compressed air. Just ugly. Then there's the various air filters which needed re-ordering or spraying down.

The jointer was also happy to see sharp knives installed.

So it's all ship shape, ready for the dining table project, except for the fatality of the table saw. Think the motor's gone. Maybe just the capacitors, but that's one difficult motor to get to and perhaps a sign to get an old piece of north american cast iron or something.

Sunday, November 24, 2013

Invasive surgery complete


Wow. Pleasantly surprised with how much quiter it runs, it used to sound like a jet plane when I switched on the dust collector.

Saturday, October 12, 2013

Drawers


Started the NK style drawers. Here's the drawer bottom glue-up with steel sheet, and fitting the drawer fronts into the carcase. Steel bottom because it can take a beating from cutlery, and because I wouldn't want to start using plywood. Yes...a spline running through that partition dovetail...somehow I only put glue on the bottom dovetail, not the top one during assembly, must have been one of those quick & easy glue-ups done when already late for picking my son up from school...had to stabilise the joint somehow. "Mr. Greenley was never perturbed about a mistake; he simply set about finding the most efficient fix. He understood intuitively that surges of negative emotion not only interfere with problem-solving; they also get built into the object you’re working on." (From Mr Cheek's thoughts on boat building).

Pass the blow torch please


You know it's gone beyond the advertised 2 hour instal as soon as you reach for the blow torch. Perhaps the previous owner installed the pulley side bearing with some locktite for good measure. No amount of tapping was easing her out of the casting. Once I'd made the decision to sacrifice the bearing it released easily enough with some penetrating fluid and heat. It's a good idea to replace both bearings along with the cutterhead anyway, turns out the bearing on the gear box side had a fair amount of play in it. While I'm at it I'm going to try replace the infeed roller with a rubberised outfeed roller. Not sure why Delta use a serrated infeed roller which often scars the wood on a final light pass. So now we wait for parts. I used BC Bearings for the bearings, fraction of the price from Delta, and Delta for the roller and gear box gasket.

Thursday, October 3, 2013

The Shelix Arrival


So long tear-out, see ya. Hoping to get this bad boy into my planer at some point. It's been on the list since experiencing the Shelix advantage at a course a couple years ago, mindblowing.

Little More Metal.


Monday, September 30, 2013

Metalwork Begins


Stiching it up, and probing the industrial edge.
 

Lights


A fun rehabilitation project. My weakness for industrial objects continues, they just don't make them like they used to.

Thursday, July 11, 2013

Some bed-time reading


Here's the link to a magazine article I wrote for Canadian Woodworking & Home Improvement Magazine.

In-between Summer Distractions.


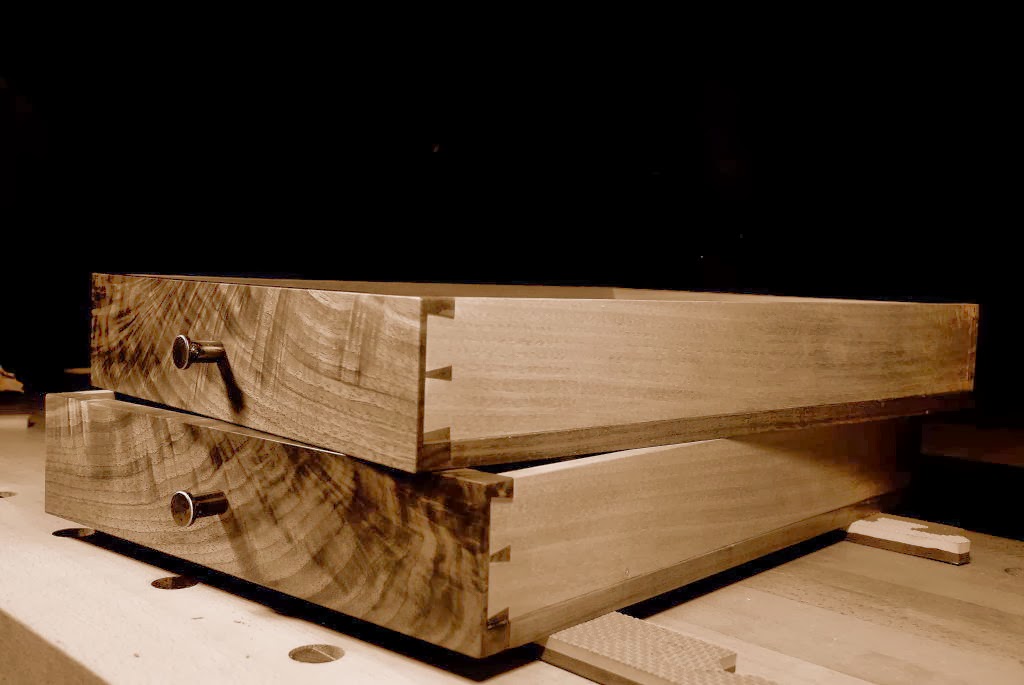
The milling culminated in 4 re-sawn boards that were brought into the house to rest-up for a couple weeks while I was away on the course. Then a face was re-flattened (sent through the planer on the sled, trued up with a hand plane), and the oppposite face was sent through the planer. Edge joints were prepared and once the bookmatched panels were glued up, I reflattened by hand and the ends were flushed and squared by hand. Pretty sure the average non-woodworker has no idea how much time and effort it takes just to make a couple half decent planks.

Unlike the wall mounted module of the sideboard where I dovetailed the carcase, I wanted to explore a more production style carcase joint, for those instances where shop productivity counts. I settled on a miter, it lends itself to efficient joinery, and gives an unsurpassed grain wrap around the top and sides of the cabinet. A long carcase miter is also very easy to get wrong, so I did some much needed research.

There seems to be very little good information about how best to prepare a carcase miter. Probably because in theory it's such a simple joint that millwork shops prepare on a big sliding table saw. In my case, these panels were too deep for my miter guage/crosscut sled, and too wide for my rip fence, a common carcase conundrum in most small 1 man shops I'm sure. A method I came up with, which worked perfectly, was to put the table saw fence and sacrificial fence on the left of the (left-tilt) blade, and feed the work-piece along the sacrifial fence. Fool-proof. I set the height of the sacrifial fence about 1/8th above the work-piece height, and scribed a line to mark the work piece height on the sacrifial fence, then there's some adjusting of the height of the blade and the location of the fence using the scribed line as reference. I made a big cut to remove most of the waste, then a final fine pass. Use a nice sharp blade and wax up the table surfaces.

I read a suggestion to use a chamfer bit in the router table after removing most of the waste on the table saw, so I did, but the result wasn't as clean as the table saw, particulatly on end grain. There's a couple shop made shotting boards that people have made to hand plane the miter, but I have my doubts that the miters can be prepared acurately especially once the carcase pieces get to big to work properly on your bench.

Also a pic setting up the top and bottom for ploughing the tapered sliding dovetails for the partitions. The trusty router plane made short work of flattening the bottom of the dovetails and making them consistent accross both workpieces.