Showing posts with label Kitchen Hutch #1. Show all posts

Tuesday, November 7, 2017

The Makeshift Man Desk

So I had the amputated section of the now modified Outlaw coffee hutch kicking around... Suppose I could stick some legs on it.

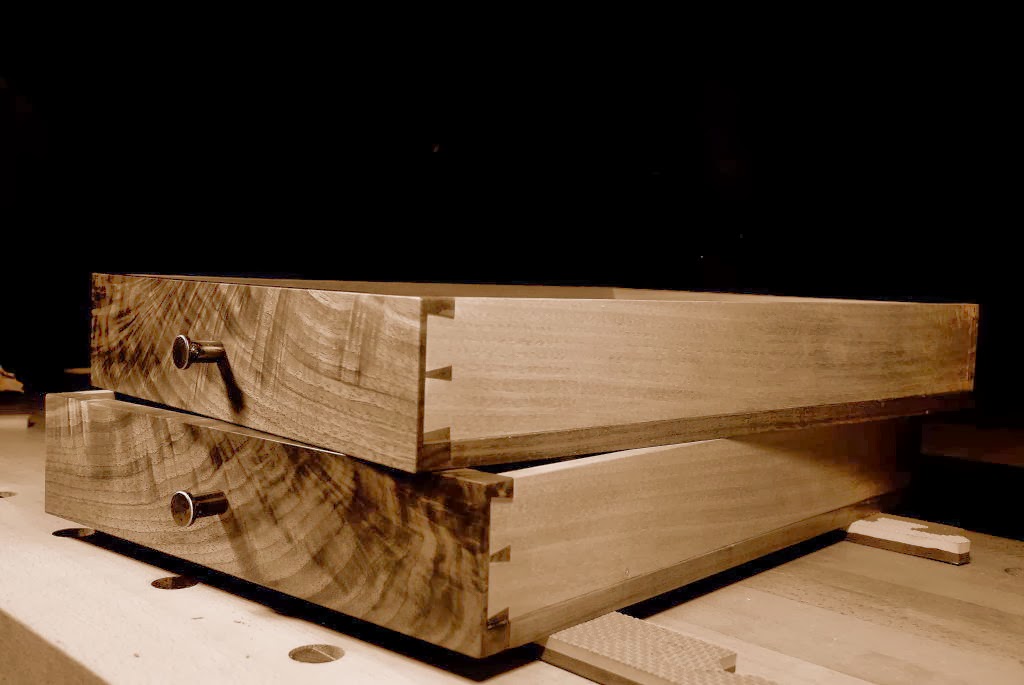
My son had outgrown his piece of crap baby desk, and was in need of a real man's desk. The thing turned out rock solid. just as well, he's a prolific drawer of birds and general crafts maniac, so it will see heavy use. Threw in a couple trays to hold his pencils.


Couple pics of the 3/8 dowel construction.


Thursday, October 12, 2017

Make it Rain

And with the rain comes the need to make planks.


I started with a small project to ease the hands back into work after a summer of truly exceptional distractions. The project involved remaking the top section of my 'Outlaw' coffee hutch to better accommodate my latest coffee machine. The coffee addiction is real. This meant going from two drawers to one so that the machine could sit at a lower elevation on the right.


Some free hand doweling on the mortiser using the shop made doweling jig.


My dad gave me these pincer pliers years ago. They work great for pulling the pins that hold the jig in place.


Fresh off the drill press. I typically make a jig for each butt joint, so in this case 4 jigs. This helps keep the mating dowel holes consistent for each joint, and also spreads out the wear and tear of the jig holes.


Stitching it up, dry fit.


Tapered cauls for the glue up. To apply pressure in places where no clamp can go.


I re-used one of the old drawers. It was an nk drawer which was obviously fit to the previous cabinet. I oversized the drawer opening height & width by a couple hairs, then I made up some 1/16 veneers and laminated them onto the drawer rails, then re-fit the drawer.


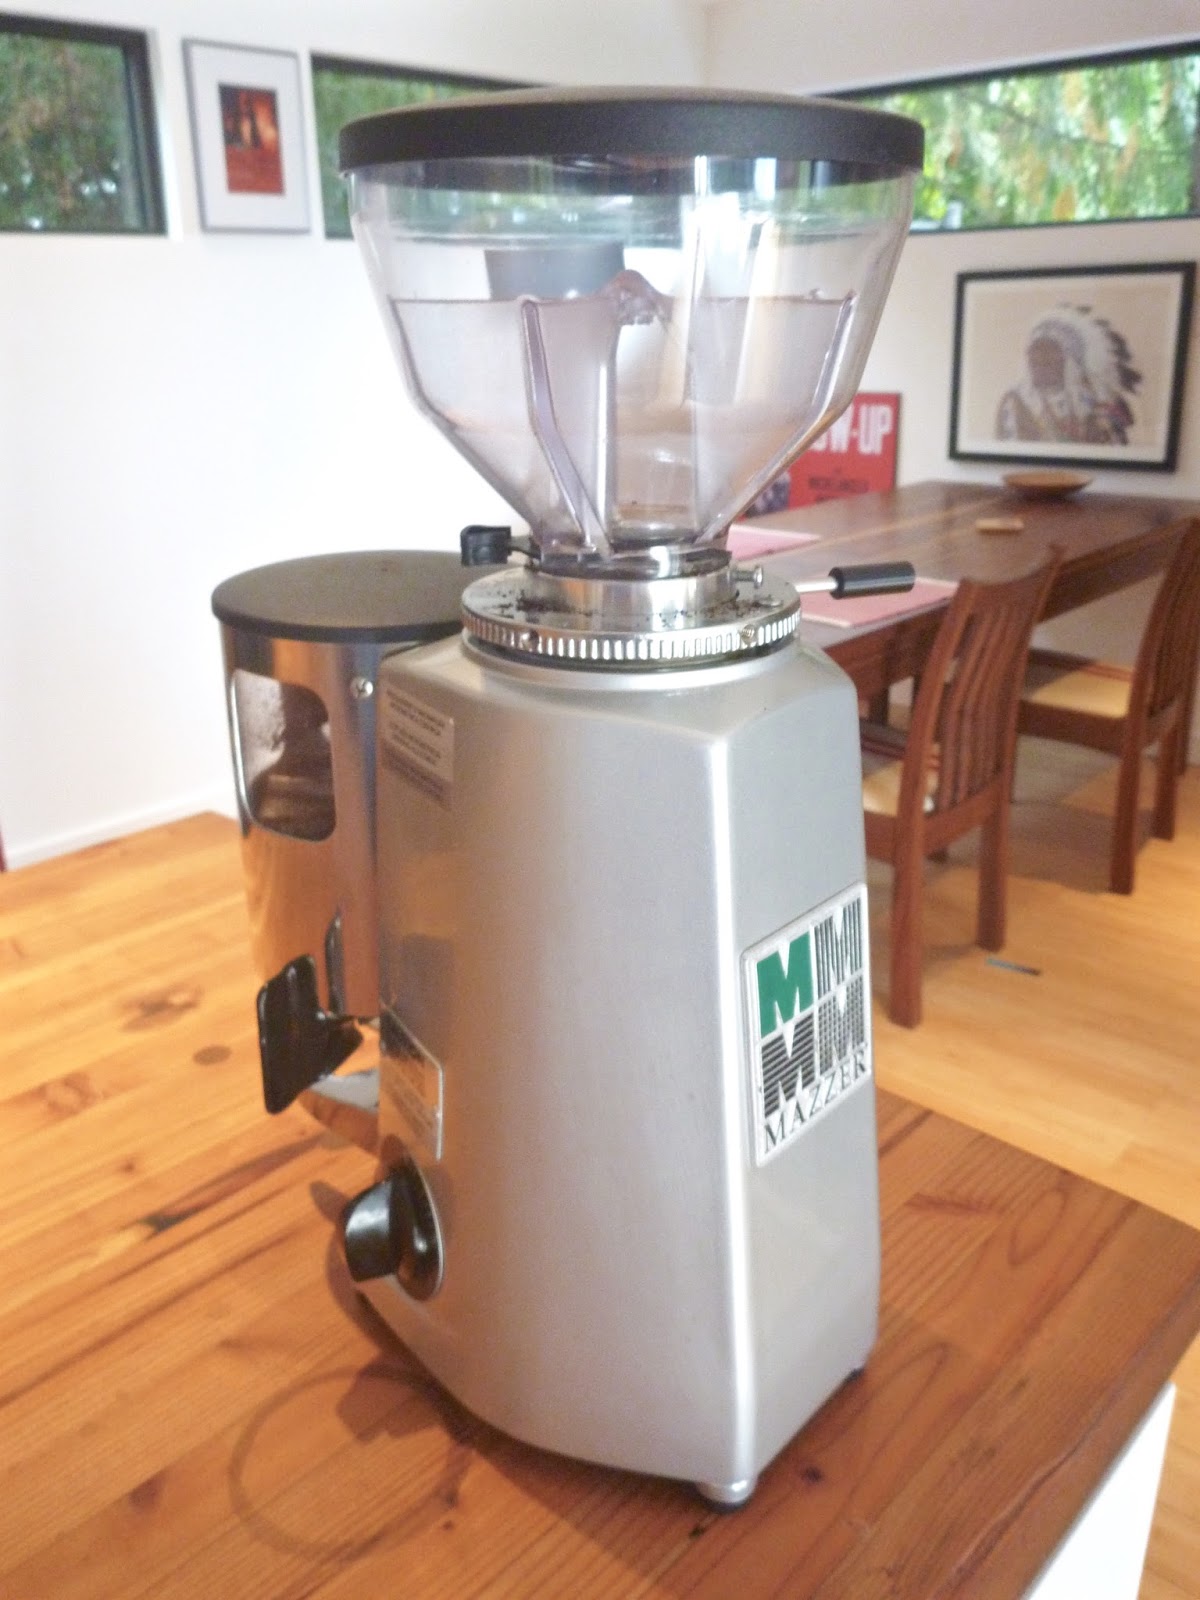
Ready for a stiff pour. And while we're getting jacked up. I picked up a Mazzer Mini on craigslist about a year ago. It goes front & centre in the kitchen, no cabinet modifications necessary. Built like a tank.


Saturday, October 12, 2013

Drawers


Started the NK style drawers. Here's the drawer bottom glue-up with steel sheet, and fitting the drawer fronts into the carcase. Steel bottom because it can take a beating from cutlery, and because I wouldn't want to start using plywood. Yes...a spline running through that partition dovetail...somehow I only put glue on the bottom dovetail, not the top one during assembly, must have been one of those quick & easy glue-ups done when already late for picking my son up from school...had to stabilise the joint somehow. "Mr. Greenley was never perturbed about a mistake; he simply set about finding the most efficient fix. He understood intuitively that surges of negative emotion not only interfere with problem-solving; they also get built into the object you’re working on." (From Mr Cheek's thoughts on boat building).

Monday, September 30, 2013

Thursday, July 11, 2013

In-between Summer Distractions.


The milling culminated in 4 re-sawn boards that were brought into the house to rest-up for a couple weeks while I was away on the course. Then a face was re-flattened (sent through the planer on the sled, trued up with a hand plane), and the oppposite face was sent through the planer. Edge joints were prepared and once the bookmatched panels were glued up, I reflattened by hand and the ends were flushed and squared by hand. Pretty sure the average non-woodworker has no idea how much time and effort it takes just to make a couple half decent planks.

Unlike the wall mounted module of the sideboard where I dovetailed the carcase, I wanted to explore a more production style carcase joint, for those instances where shop productivity counts. I settled on a miter, it lends itself to efficient joinery, and gives an unsurpassed grain wrap around the top and sides of the cabinet. A long carcase miter is also very easy to get wrong, so I did some much needed research.

There seems to be very little good information about how best to prepare a carcase miter. Probably because in theory it's such a simple joint that millwork shops prepare on a big sliding table saw. In my case, these panels were too deep for my miter guage/crosscut sled, and too wide for my rip fence, a common carcase conundrum in most small 1 man shops I'm sure. A method I came up with, which worked perfectly, was to put the table saw fence and sacrificial fence on the left of the (left-tilt) blade, and feed the work-piece along the sacrifial fence. Fool-proof. I set the height of the sacrifial fence about 1/8th above the work-piece height, and scribed a line to mark the work piece height on the sacrifial fence, then there's some adjusting of the height of the blade and the location of the fence using the scribed line as reference. I made a big cut to remove most of the waste, then a final fine pass. Use a nice sharp blade and wax up the table surfaces.

I read a suggestion to use a chamfer bit in the router table after removing most of the waste on the table saw, so I did, but the result wasn't as clean as the table saw, particulatly on end grain. There's a couple shop made shotting boards that people have made to hand plane the miter, but I have my doubts that the miters can be prepared acurately especially once the carcase pieces get to big to work properly on your bench.

Also a pic setting up the top and bottom for ploughing the tapered sliding dovetails for the partitions. The trusty router plane made short work of flattening the bottom of the dovetails and making them consistent accross both workpieces.

Sunday, May 26, 2013

Big Elm


Started slicing up a nice 8' slab of elm that Dan and I harvested a while back, as the sideboard project kicks into the next phase. That's the crotch section of the slab on the bandsaw, wide load. My makeshift planer sled (3 jointed 2X3's) works reasonably well. shim any wind on opposite corners, then hot melt glue every 3 inches or so along the 2X3's. Doesn't get it perfectly flat, but close enough for rough milling or until you can get a hand plane on it. collapsible and light too.