A little back slat action. The new router table is thrown into production with the modest task of rounding over the back slats, nice to have a starter pin to ease the work into the bit. Lots of final fitting of all joints before parts are pre-finished with oil and glue ups start. And this is how they stand after glue-ups and the final coat of oil before the upholstery of the seats. Yes, of course the seats are gonna need a couple speedstripes...red speedstripes...
Wednesday, October 15, 2014
The Long & Winding Home Stretch
A little back slat action. The new router table is thrown into production with the modest task of rounding over the back slats, nice to have a starter pin to ease the work into the bit. Lots of final fitting of all joints before parts are pre-finished with oil and glue ups start. And this is how they stand after glue-ups and the final coat of oil before the upholstery of the seats. Yes, of course the seats are gonna need a couple speedstripes...red speedstripes...
Monday, September 29, 2014
The Mortising Marathon
The two chair production run steams ahead. But first let's get our head around the back slats. I beveled the back seat rail and the crest rail to make them co-planer. This avoids a fitting epic for the four back slats. Without the co-planer bevel, the inside slats would be shorter than the outside ones (a bit of a mind bender, but yes they will be). I estimated the top and bottom angle using a couple of sticks, cut the bevels on the bandsaw, then fine tuned the bevel angles with a hand plane, until the back slat blanks (cross-cut at 90 degrees) sat nicely between the rails. I also make the crest rail mortise in the rear leg a hair longer than the rail mortise to allow adjustability.
Here's some mortising footage. The pic below shows the set-up for the compound angle on the side rails. I mill a block to get me close to the angle, then use a block plane to cut a small bevel on the block until the rail sits down to the right angle. about as high tech as my jigs get.
No jigs required. Here's the back slat blanks receiving their mortises using the bevel cut on the top and bottom rail. I used double stick tape to hold the rail and a stop block in place.
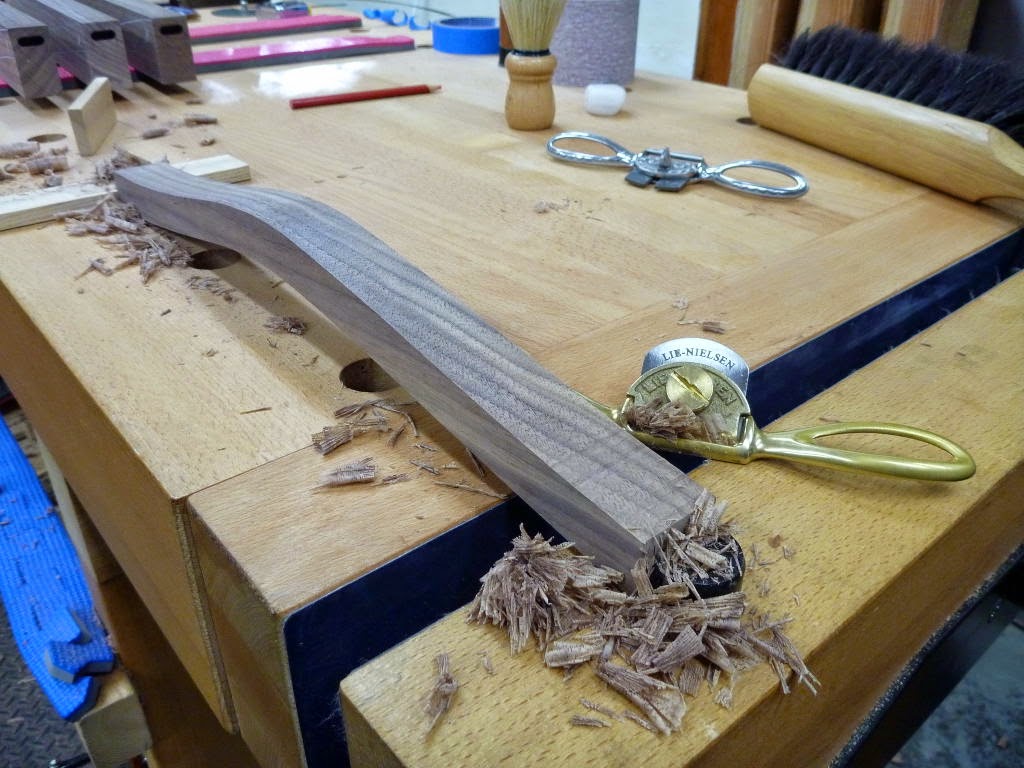
Back rail and crest rail get shaped and receive mortises for the back slats. Cut & clean the concave side first, it's easier to clamp on the bench.
Monday, September 22, 2014
Shaping and Trimming
Ganging up the rear legs and scrubbing the bandsaw marks. With this immaculate summer wind-down, it's been a treat to work with the shop doors open. The compound angles on the chair rails.
Tuesday, September 16, 2014
Initiate next project
The Regulator table has a bench, but how about a couple chairs. Parts broken out with the rough mill.
Thursday, September 4, 2014
Onwards
I pulled the trigger on a router table replacement. despite the glowing reviews in Fine Woodworking, the table is showing a couple thou' dip with the weight of the router. and the fence wasn't square. They also need to find a smarter way to level the router lift...painful...a bunch of crappy nuts and bolts isn't going to cut the mustard boys. but whatever, it seems half decent, and I'm looking forward to spending some time with her.
Subscribe to:
Posts (Atom)