Wednesday, October 28, 2015

Winding Down


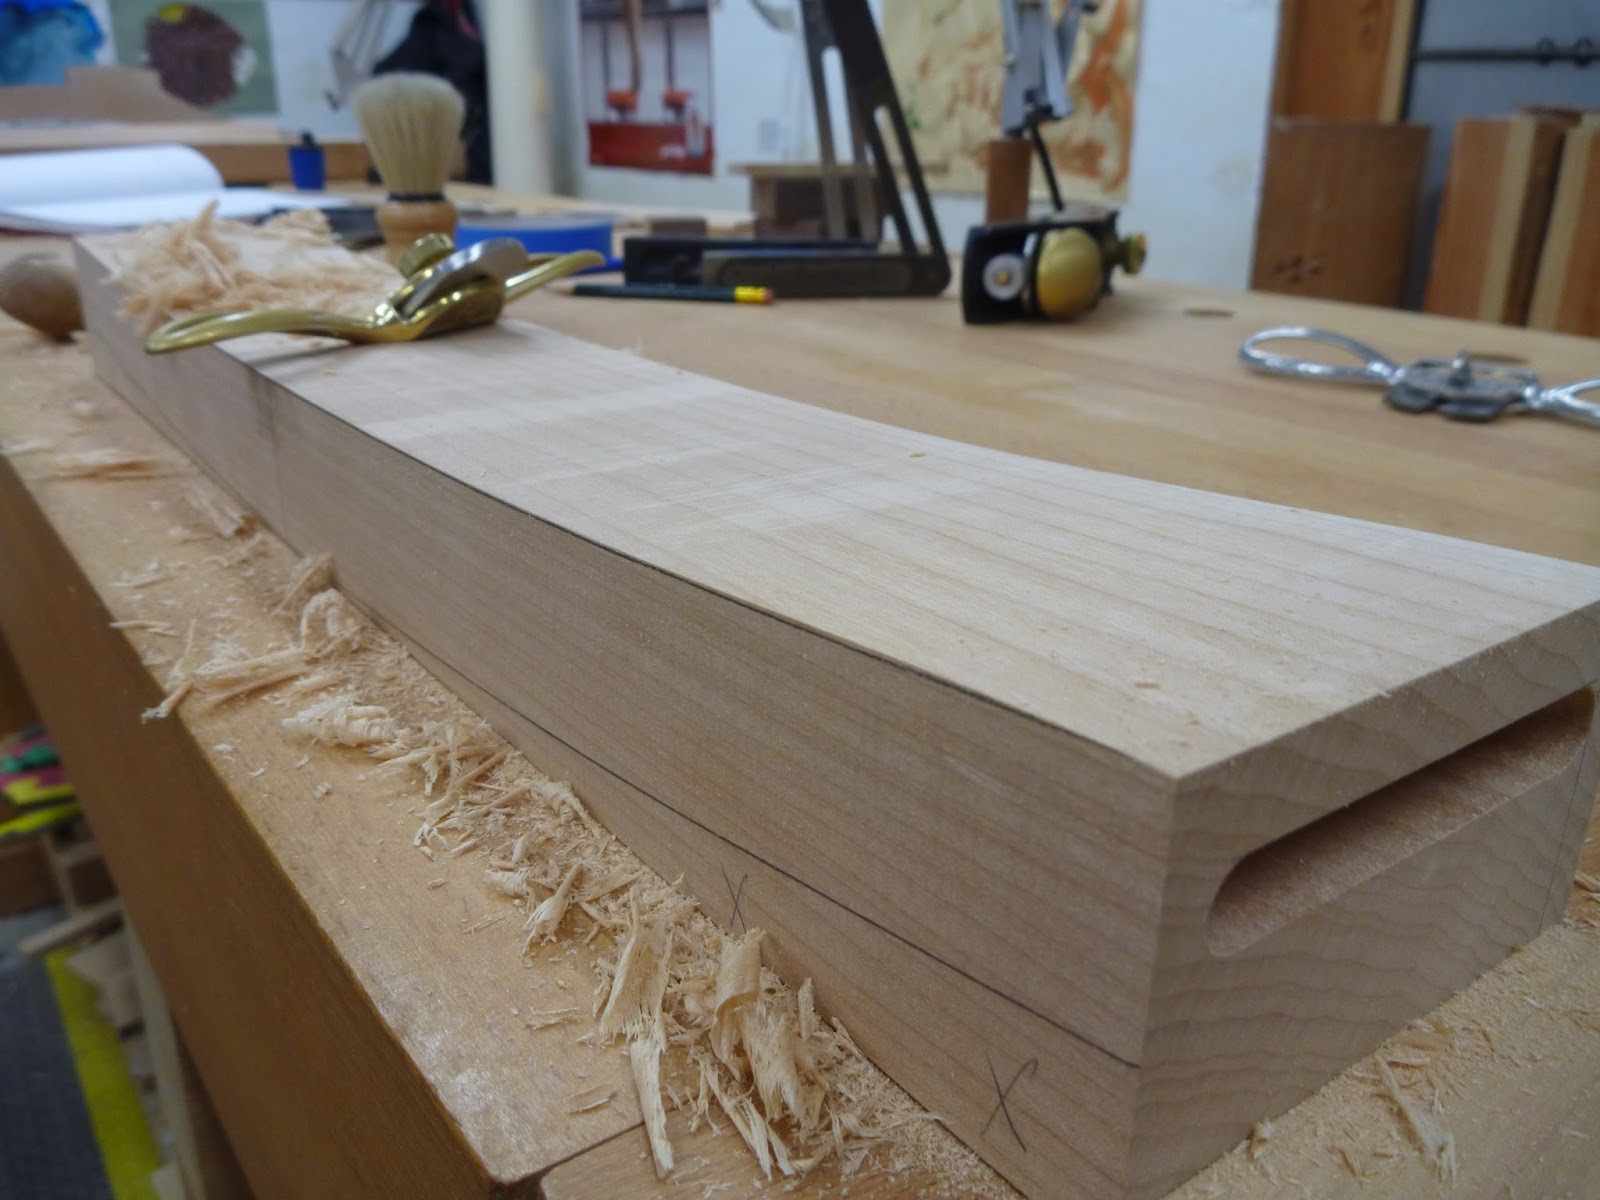
In between coats of oil it's time to catch up with some housekeeping. Hang the patterns and cauls ready for next time, and sort the off-cuts. Also a picture of possibly my favourite plane, my dad's #3, flushing the joinery on the seat frame.

Monday, October 26, 2015

Wrapping Up.


Here's the final glue-up, and the seat frame going into the clamps. To cut the rabbet on the seat frame, I thought I'd best make a sled. Safety first. The sled worked well and kept my fingers well away from the exposed bit. Don't forget to make a start and finish ramp for the bearing guide. I only used the sled for the curved thin back piece, the rest are straight cuts on wider stock, made with the fence.

While I was in the experimental mood, I thought I'd try Old Brown Liquid Hide Glue (to glue in the spindles). It helps to have some extra open time to arrange the spindles and reconcile them. Nice glue to work with, non-toxic, and clean up is about as good as advertised, also important when it comes to spindles. Drop the bottle in hot tap water, and wait for it to turn from a gel to a viscous liquid.

Taking Shape.


The jig


Finally got round to making this jig.  The simplest, most useful jig. It puts a micro-bevel on jointer knives. I bought some new knives that were in pretty rough shape, but managed to clean them up nicely. It's worth running your stones over the knives after getting them back from sharpening, it'll get your jointer running silky smooth. With a quick lapping on the 6000. Two 45 degree kerfs in a piece of plywood.

Sunday, September 20, 2015

Putting the Easy into the Easy Rider

The Easy Rider prototype was looking for a more laid back stance, a chair that sits well after a trans-continental overland journey. You can leave your dusty leather jacket on before sitting Dennis, or take it off, whatever man. Keep the shades on.


So I'm left staring at planks, laying out the new patterns, deciding where to cross cut. Don't underestimate the time and number of coffees involved here, there's no turning back after the sticks have gone through the radial arm saw.


The Whiteside carbide 2" cut length spiral flush cut. Made in USA. Quality. Template routing to a curve always means cutting against the grain on half the work piece. No sign of chatter or tear out.


Prepping the joinery surfaces with the trusty block plane.


Prepping the armrest wings.


I changed the radius of the bent lamination crest rail, which meant making a new form. Instead of hand shaping the male and female forms, I thought I'd try something new. Cut & clean up the concave template first, then cut and shape the convex template to fit. It's a lot easier and more accurate to fit a thin template than the form itself. I also find it easier to fit the convex to the concave. Then load the Whiteside.


I'm going to go ahead and declare this the sweetest bent lamination glue-up this side of the Columbia. Damn that form came together nicely. Even put in the special wedges that centre the forms and also stops the lams slipping all over the place, just like Robert taught us.

It's always about this point when you realise the magnitude of the work that remains. A bunch more parts to come, and a whole universe of shaping. Yes, I introduced a S curve into the rear leg, so that I could raise the back. Something to do with lining up the spindles nicely with the crest rail. I had to consult the angle finding gimp while staring at patterns for hours, and images of every chair ever made. Also lowered the seat and arms.  


I was spying on Fender through the shop window, he's carving his initials into an offcut.


Saturday, August 29, 2015

The Technology Department


A few pictures of the latest shop tools. Following yet another schizophrenic PC meltdown and system recovery, it was time to jump ship and implement a sturdier platform. As head of the IT department, I had to shut the shop doors for a few days to manage the transition project. I also set up a 1 terrabyte file server so I can access photos and drawings from the shop or office without storing everything on the laptop's small hard drive.

To get internet out to the shop (wireless signal couldn't reach) I used these handy 'power/ethernet adaptors' which meant I didn't need to run ethernet cable (something I've been putting off for years). The adaptor picks up the wireless signal from the office through the house power. Then it was just a case of throwing a wireless router into the shop.

After many hours of deliberation I decided what to change on Easy Rider verison 1. So now, patterns are scattered on the bench as I play with parts to find version 2.  Explore some lines...cut a pattern..think some more...cut another pattern...